


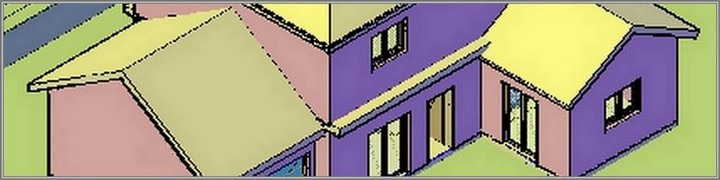
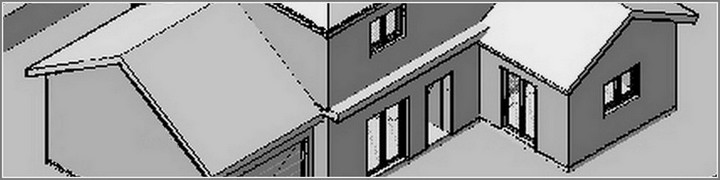
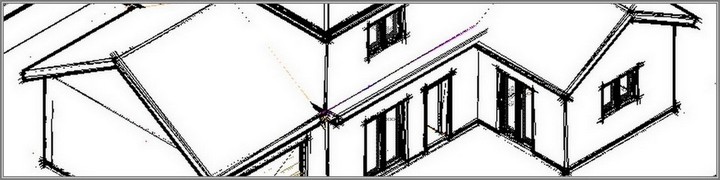


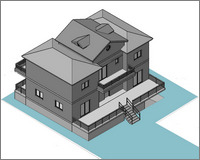
At this step, you will draw the architectural plans of the project house21-260, the floor plan of the basement, the plan of the ground floor, the plan of the first floor and the floor plan of the roof - attic. Then you will draw the 2D site plan and the 3D Terrain drawing.
These plans can then be used, with the usual procedure of Autocad Architecture, to create the rest of the architectural drawings such as sections, elevations, 3d Views etc.
The ACA (AutoCad Architecture) software provides special tools to organize your projects so that you can create drawings and project information in the quickest and easiest way. You will apply this procedure during the designing of this project as described in step "4. Drawing Management".
The floor plans and site plans that you will draw in this phase, will be used later in stepr '5' to create the Construct Drawings which form the core of the work drawings.
- Details

"Design a House with AutoCad Architecture 2021"
Published - Copyright© 2021 by Pantelis Skourtis
2.2.6a- Open a hole in the Ground floor roof slab for the stair
Interference Condition
To operate the stair, you need to open a rectangular hole in the roof slab, long enough for someone going up not to bump his head, as shown in Fig.2.2.6.11.
To open a hole in the roof slab of the basement, you will add an interference condition between the stair and the slab.
With the interference condition, you can Add or Subtract other objects to a slab. The Subtract option removes the mass element from the slab.
Stair that is applied as interference condition in roof slab, can be edited like any other object using grips, or on properties palette. If you edit the stair, and change width, height, headroom height, etc., the roof slab updates accordingly.
When you add an interference condition between the stair and the roof slab, a box is cut around the stair, based on the stair's specified headroom height and side clearances.
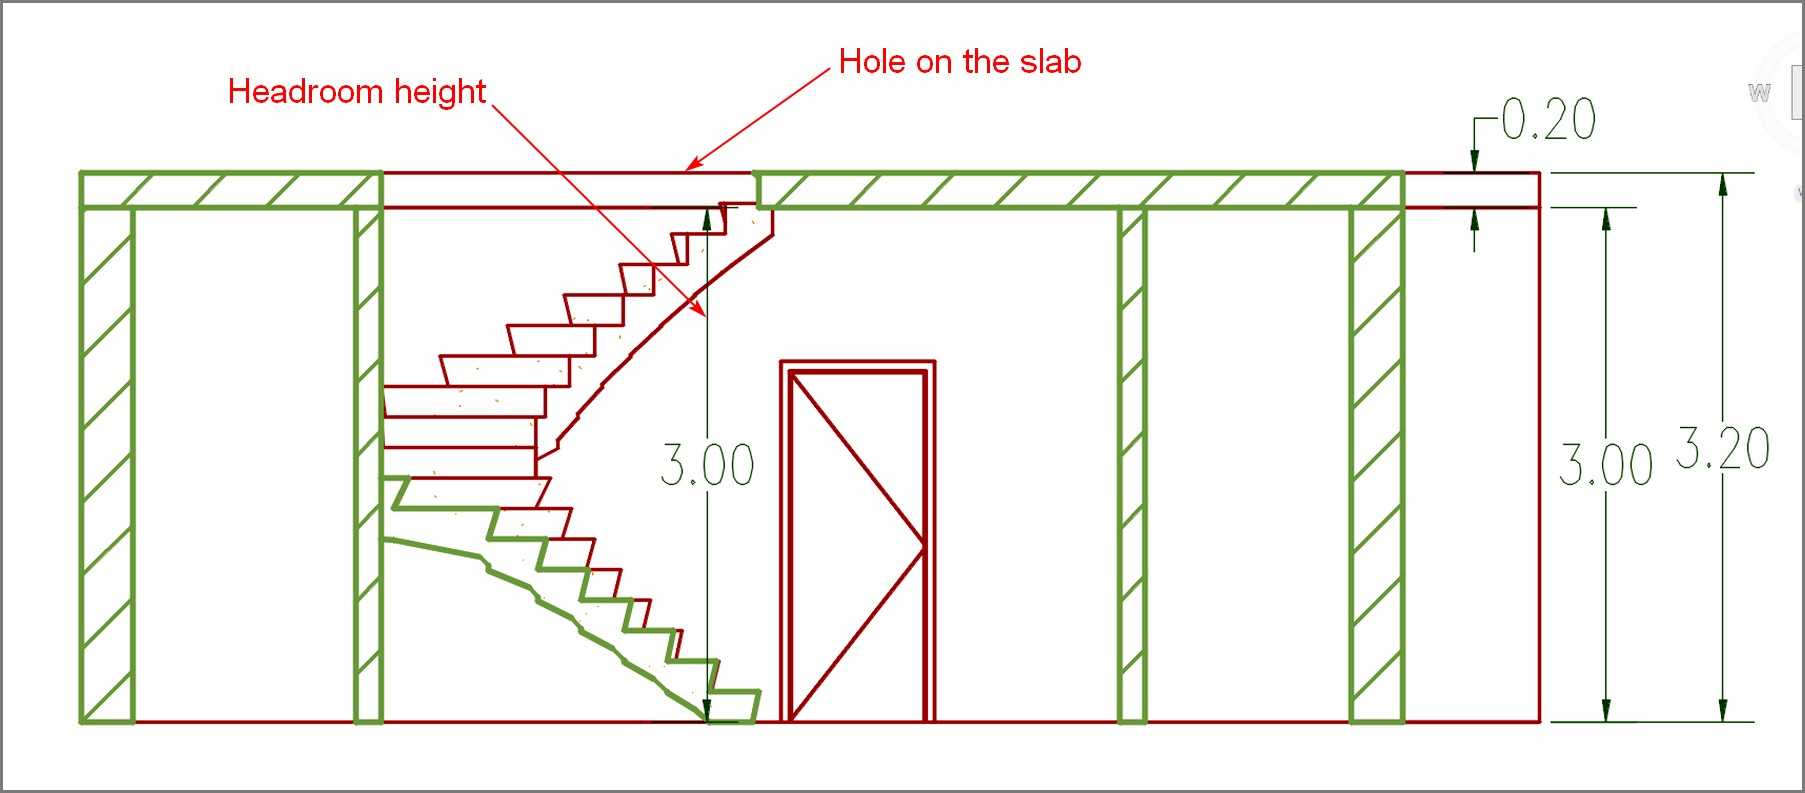
The length of the hole is set in the Properties Palette (Fig. 2.2.6.11) of the stair, in the category Advanced > Interference > Headroom height. The Headroom height defines the clear height between beam and slab at the edge of the hole (Fig.2.2.6.11).
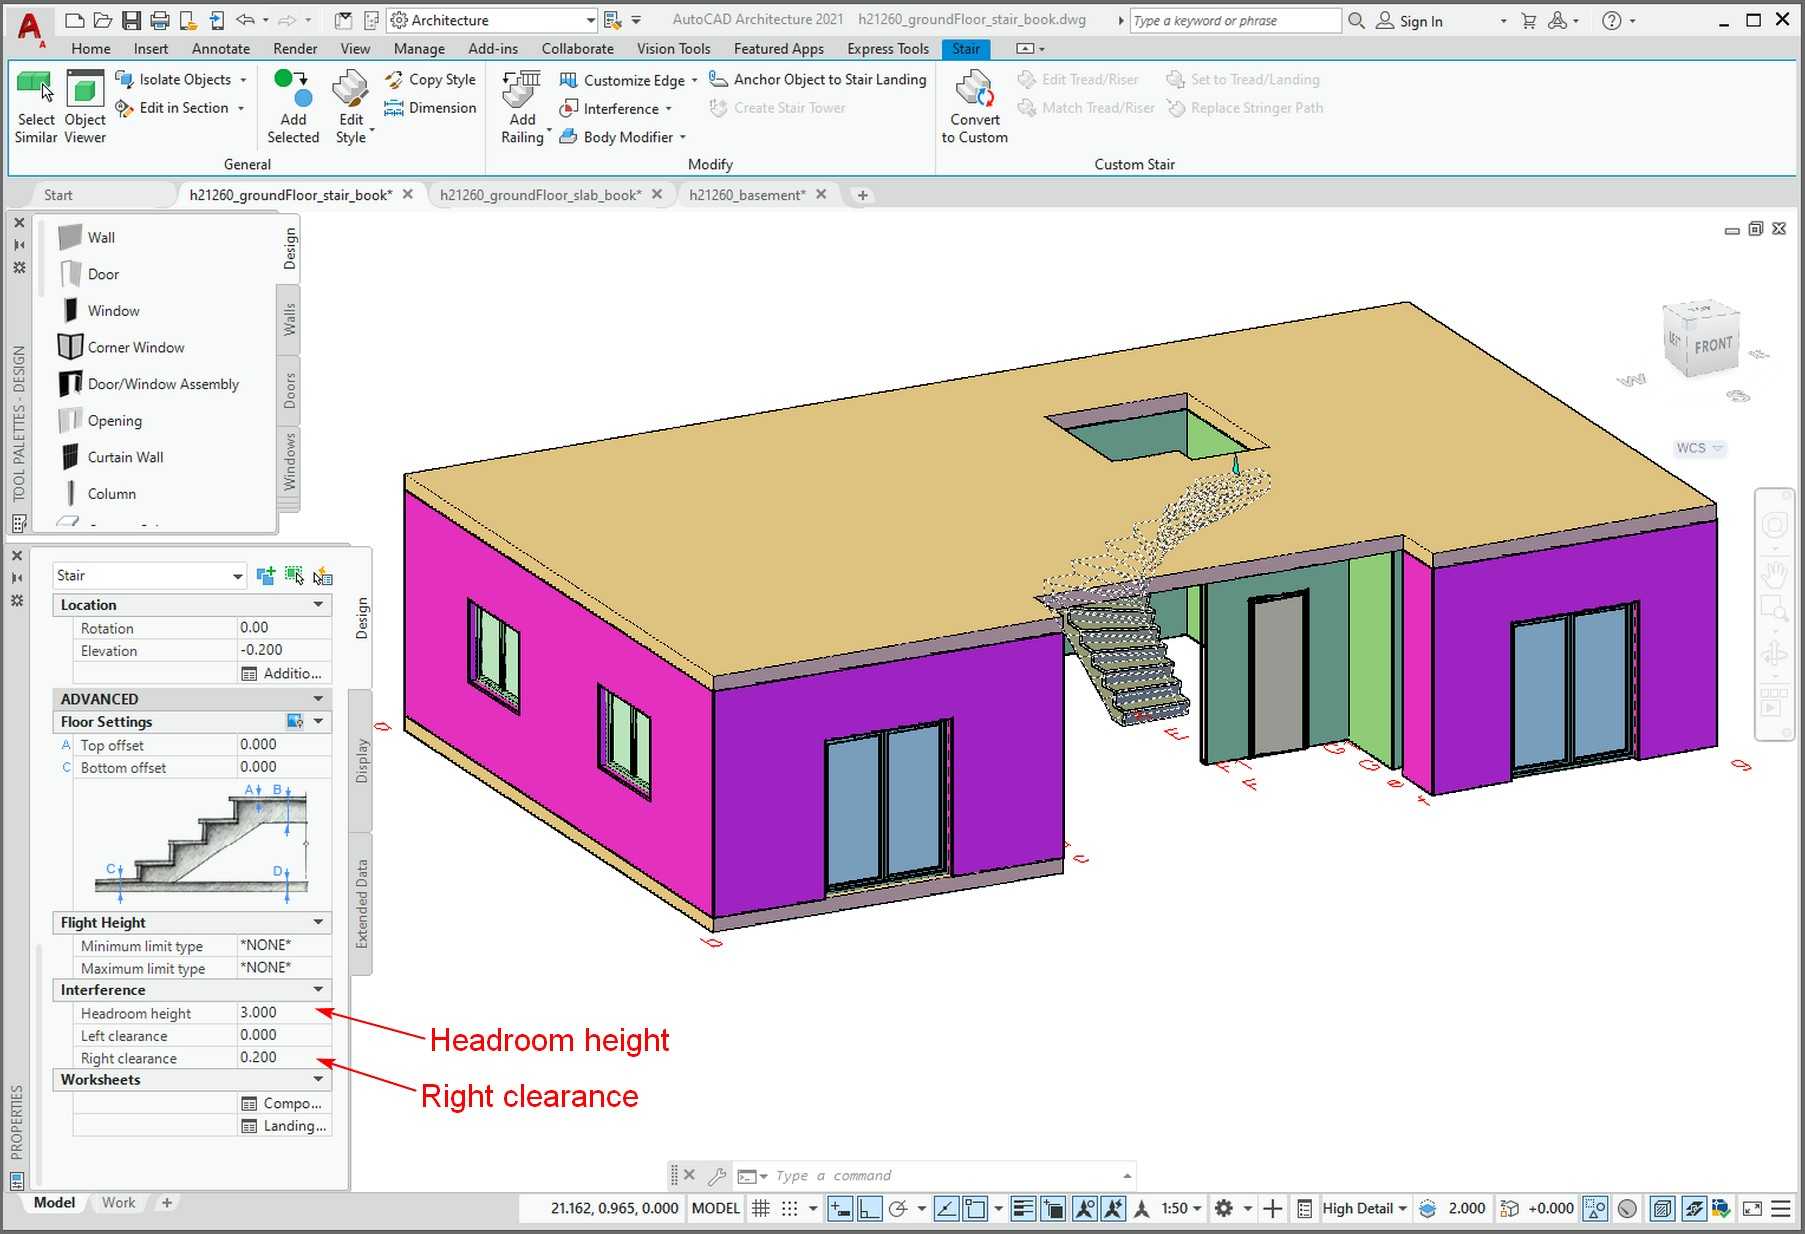
- For your convenience hide the walls (cd), (EF), (C1 A), and their openings, to have a better 3d view of the stair and slab (Fig.2.2.6.11).
- Double-click the stair to open the properties palette (Fig.2.2.6.11).
- Click the Design tab, expand Advanced, and expand Interference.
- Specify the height above the threads for the interference condition. At this stair, for Headroom height enter the value 3.00 (as shown in section Fig.2.2.6.12), and for Right clearance enter the value 0.200.
- Click Esc, to remove the selection of the stair.
- Select the slab, on the roof of the basement, to intersect.
- On Ribbon > click Slab tab > on Modify panel select Interference Condition drop-down > and then select Add icon
 .
. - At the prompt: ‘Select Object to Add:’ select the stair and press Enter.
- At the prompt: Enter Shrinkwrap effect: select Subtractive and press ENTER.
- Press the ENTER button again to end the command execution.
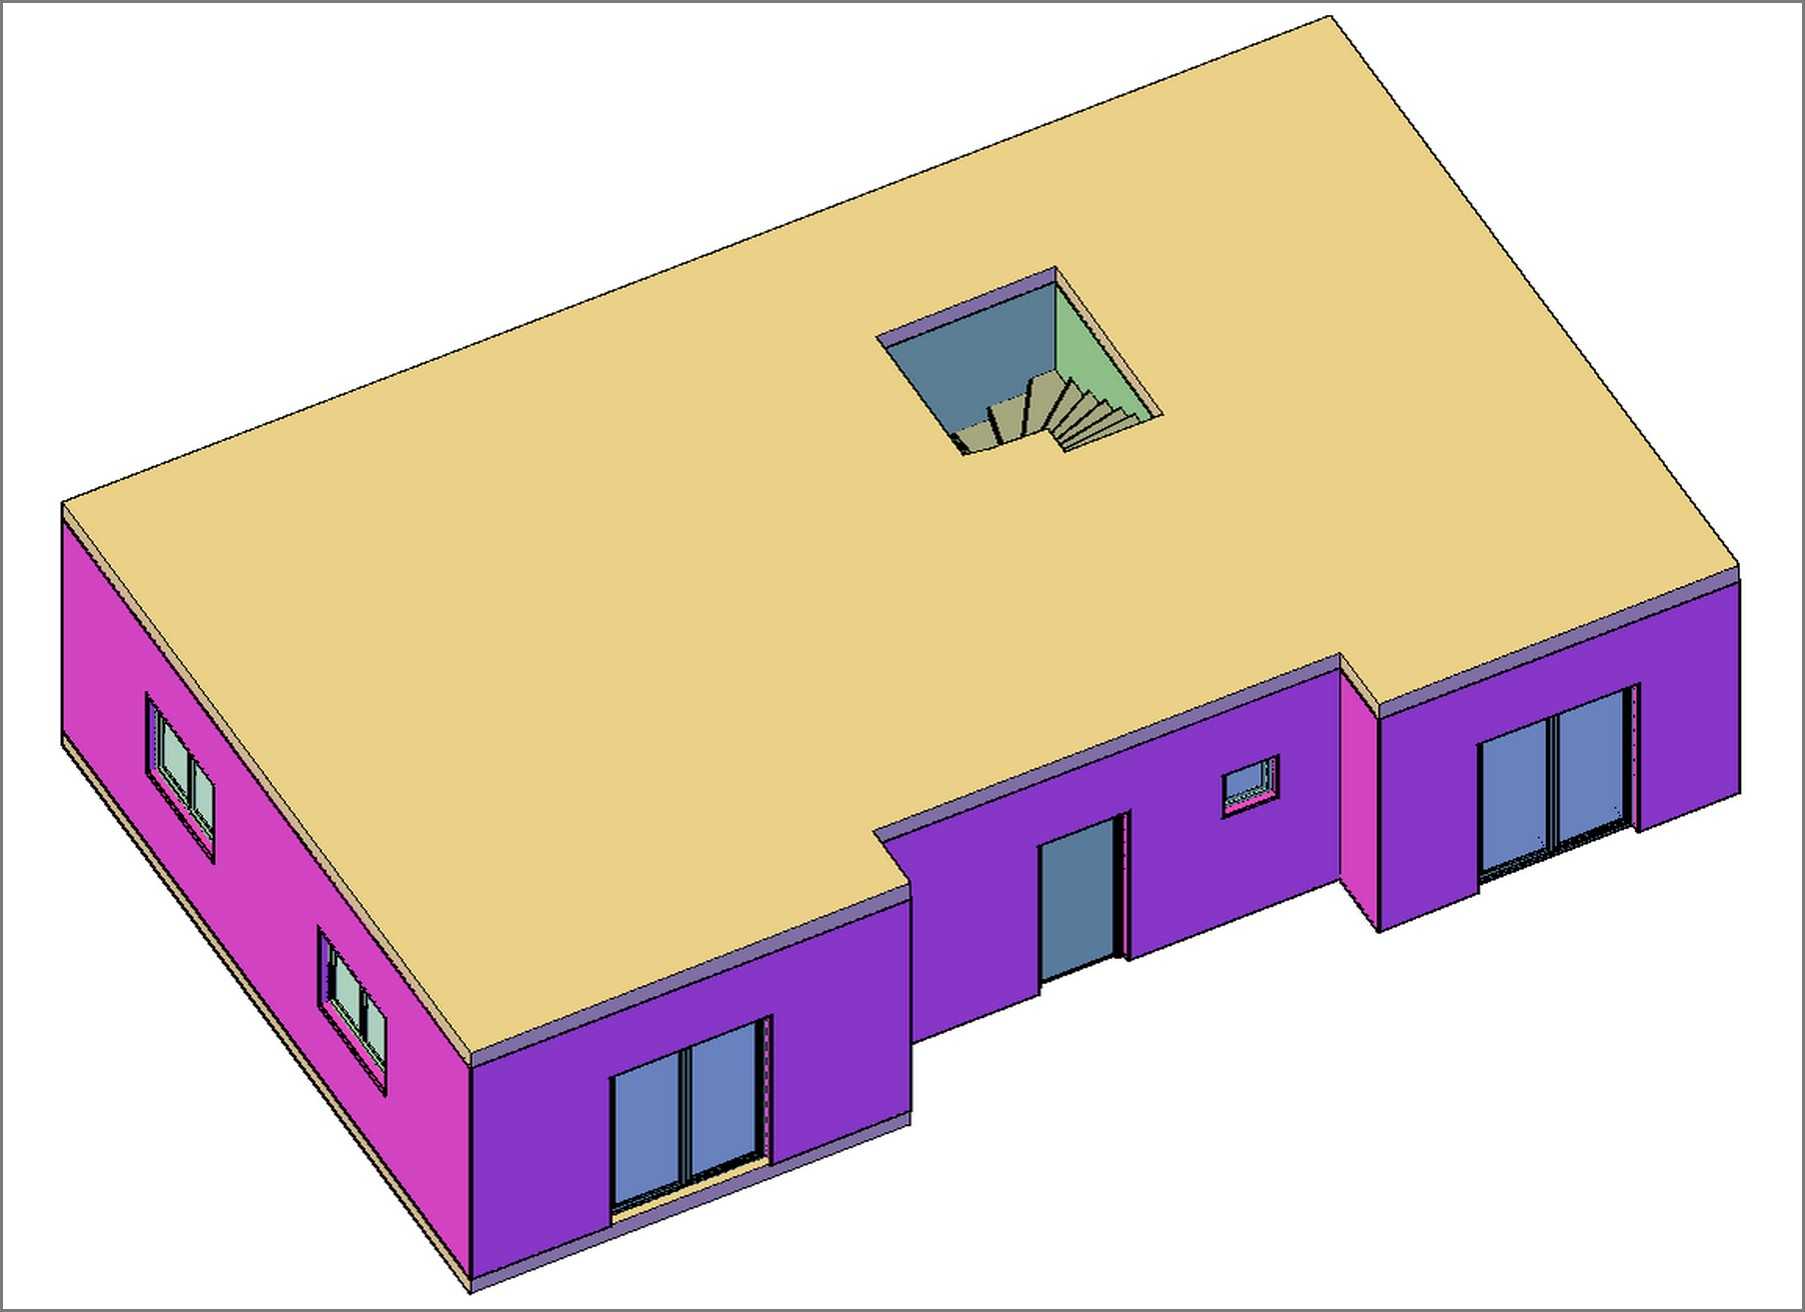
The result is as shown in Fig. 2.2.6.13.
Save this drawing under the name h21260_groundFloor_stair in the folder groundFloor, that you have created. Its full path will be:
C:\ACA\customDwg\house21-260_custom\groundFloor\h21260_groundFloor_stair.
You will use this drawing in chapter 5, to create the construct drawings of the basement.
To remove the hole in the basement roof slab:
- Select the slab, in the roof of the basement, from which to remove the interference condition.
- On Ribbon > click Slab tab > on Modify panel select Interference Condition drop-down > and then select Remove icon aca18 icon
 .
. - At the prompt: ‘Select Object to Remove:’ select the stair, and press Enter and Esc.
The next lesson is "2.2. The First floor plan"